Insight | Sep 24, 2020

Tricks to Make your Gatsby Localization Project a Success
By Ed Hornig
The first step in localization is to create a set of routes to serve the localized content. For example, say your site consists of a homepage (example.com) and an about page (example.com/about), and you wish to create a French version of the site. Your options for your French routes are as follows:
Localized domain (e.g. example.fr and example.fr/about)
Localized subdomain (e.g. fr.example.com and fr.example.com/about)
Localized path (e.g. example/fr_fr and example.fr_fr/about)
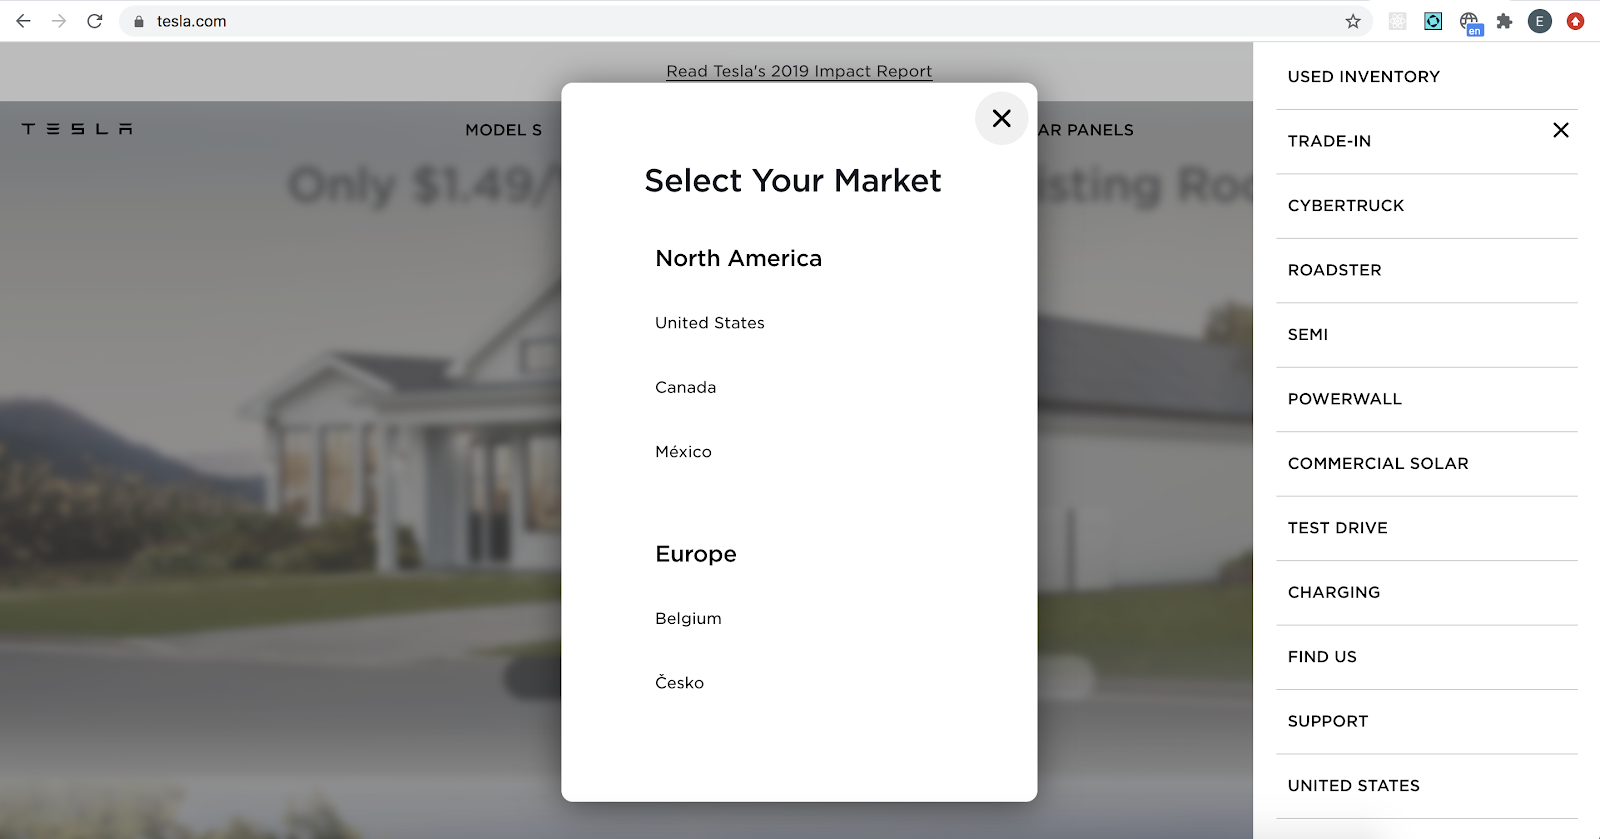
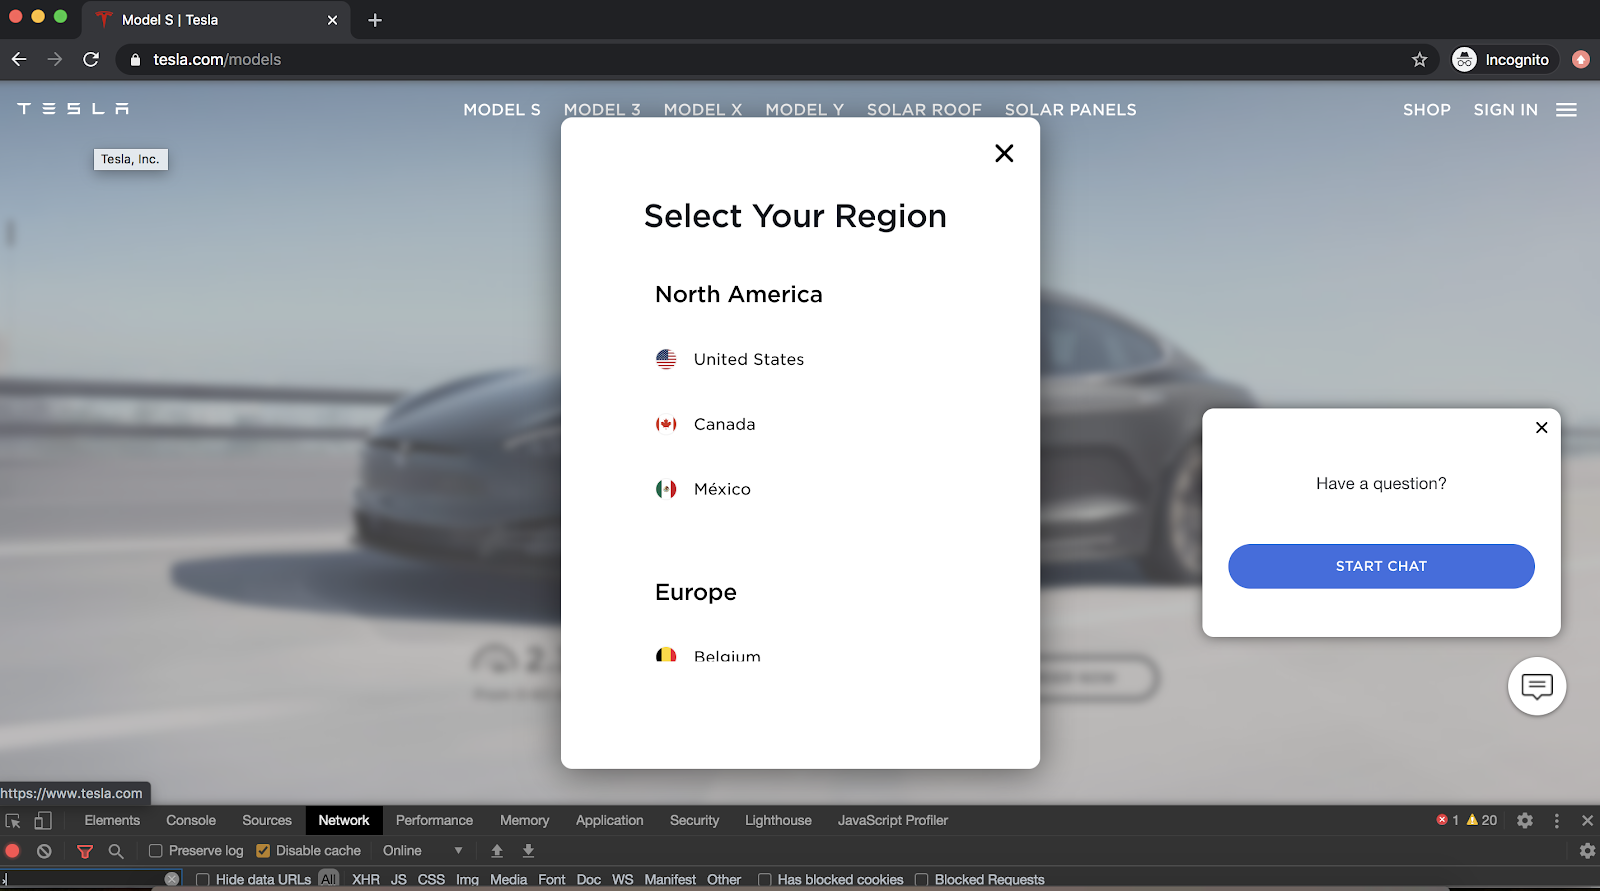
Using a localized path (option 3) is the easiest option and is employed by many industry leaders including Tesla (e.g. www.tesla.com/fr_fr).
Choosing a Gatsby plugin
The Gatsby plugin gatsby-plugin-i18n is a great starting place to follow this course and handle localization with Gatsby. It creates routes for each language you define, using the language code as a prefix in the path, and comes with I18n methods for Gatsby projects, like getCurrentLangKey(), getLangs(), and getUrlForLang().
Demo for Gatsby with Contentful
Out of the box, Gatsby converts any js file in /src/pages into a route. For example, /src/pages/about.js builds the /about page. With gatsby-plugin-i18n, you append the language code onto the filename, so /src/pages/about.en-us.js builds /en-us/about and /src/pages/about.zh-cn.js builds /zh-cn/about.
For pages created in gatsby-node.js with createPage(), you will need to ensure you call createPage() for each language.
To begin, include the plugin in your gatsby-config.js file:
// Add to gatsby-config.js plugins: [ { resolve: 'gatsby-plugin-i18n', options: { langKeyDefault: 'en_us', useLangKeyLayout: false, prefixDefault: false, } } ]
Next, define your languages in /src/data/languages.js:
module.exports = { langs: ['en_us', 'fr_fr'], defaultLangKey: 'en_us', }
Note that this is where the path prefixes are defined (e.g. example.com/fr_fr). Also note that in gatsby-config.js, we set prefixDefault to false, which means that our default English site will appear without a language prefix (e.g. example.com).
Now you are ready to address your pages on a case-by-case basis. In our simple example, you would rename /src/pages/index.js (homepage) to /src/pages/index.en_us.js and /src/pages/about.js to /src/pages/about.en_us.js. Then copy these files into /src/pages/index.fr_fr.js and /src/pages/about.fr_fr.js, respectively, and replace the English copy with French.
As mentioned above, for pages created in gatsby-node.js with createPage(), you will need to ensure you call createPage() for each language, and handle the routing yourself. Below, we show you what this looks like for querying translated pages from Contentful and generating routes for each. Note that for the default language “en-us”, we set the path prefix to an empty string.
// gatsby-node.js const pages = graphql( ` { allContentfulPage { edges { node { id node_locale title slug } } } } ` ).then(result => { const pageTemplate = path.resolve('./src/templates/page.js') result.data.allContentfulPage.edges.forEach(edge => { const prefix = edge.node.node_locale.toLowerCase() === 'en-us' ? '' : edge.node.node_locale.toLowerCase() createPage({ path: prefix + edge.node.slug, component: pageTemplate, context: { slug: edge.node.slug, id: edge.node.id, nodeLocale: edge.node.node_locale, }, }) }) })
Language Picker UI
You will want to render a language-picker in the navigation. This should include a simple list of links to the localized version of the current page.
To get this list of links, in your /src/components/layout.js file (or another high-level component), gather the information for the current path and the site languages defined earlier in /src/data/languages.js. Then use the methods getCurrentLangkey, getLangs, and getUrlForLang (provided by the ‘ptz-i18n’ library included in gatsby-plugin-i18n) to define this.langsMenu, an array of localized urls of the current path.
// src/components/layout.js import React, { Component } from 'react' import { getCurrentLangKey, getLangs, getUrlForLang } from 'ptz-i18n' class Template extends Component { constructor(props) { super(props) const { location, siteLanguages } = this.props const url = location.pathname // const siteLanguages = require('./src/data/languages') const { langs, defaultLangKey } = siteLanguages this.langKey = getCurrentLangKey(langs, defaultLangKey, url) this.homeLink = this.langKey === 'en-us' ? '/' : `/${this.langKey}/` this.langsMenu = getLangs( langs, this.langKey, getUrlForLang(this.homeLink, url) ) this.langsMenu.forEach(lang => { if (lang.langKey === 'en-us') { lang.link = lang.link.replace('/en-us/', '/') } }) } }
Note that since we are not using a prefixed path for English, we have to remove the ‘/en-us/’ prefix from our English links.
Once your langsMenu array is ready, you can pass it down as a property to your navigation component and render the links as desired.
Detecting locale and redirecting
You will want to consider your strategy for directing users to the localized version of the site. You can detect the user’s locale by IP address or browser language (window.navigator.language). Once detected, determine whether the current route matches the locale. If there is a mismatch, you can prompt the user to choose a locale with a modal, or you can automatically redirect him.
Translation library using react-intl
For common generic language, like the ‘Read more’ link on blog teasers, it can be useful to have a set of translations stored in the code, rather than a CMS. The react-intl package provides this functionality by letting you wrap your app in an <IntlProvider> component, which is configured with the proper locale and set of translations:
ReactDOM.render( <IntlProvider locale={usersLocale} messages={translationsForUsersLocale}> <App /> </IntlProvider>, document.getElementById('container') ); Define your English translations in /src/data/messages/en_us.js and your French translations in /src/data/messages/fr_fr.js: // src/data/messages/en_us.js module.exports = { 'cta.download': 'Download', 'cta.readMore': 'Read More', 'cta.mostRecent': 'Most recent', } // src/data/messages/fr_fr.js module.exports = { 'cta.download': 'Télécharger', 'cta.readMore': 'Lire la suite', 'cta.mostRecent': 'Le plus récent', }
In your /src/components/layout.js file (or another high-level component), get your current langKey and set of messages (translations) and pass them as properties to the <IntlProvider> component.
// src/components/layout.js import React from 'react' import { getCurrentLangKey, getLangs, getUrlForLang } from 'ptz-i18n' import { IntlProvider } from 'react-intl' import 'intl' class Template extends React.Component { constructor(props) { super(props) const { location, siteLanguages } = this.props const url = location.pathname const { langs, defaultLangKey } = siteLanguages this.langKey = getCurrentLangKey(langs, defaultLangKey, url) this.i18nMessages = require(`../data/messages/${this.langKey}`) } render() { return ( <IntlProvider locale={this.langKey} messages={this.i18nMessages}> <App /> </IntlProvider> ) } }
Then in your downstream component, use the <FormattedMessage> component to render the translated text:
// src/components/BlogPostPreview.js import React from 'react' import { FormattedMessage } from 'react-intl' import { Link } from 'gatsby' const BlogPostPreview = ({ slug }) => { return ( <Link to={`/blog/${slug}`}> <FormattedMessage id="cta.readMore" /> </Link> ) }
The react-intl package also provides you with useful methods for handling international date formats and it allows you to access your current locale from any downstream component without prop-drilling.
Which fields to translate
If you’re using a CMS, like Contentful, you need to decide which fields should be translatable. Most string fields should be translatable but you should consider whether you want image fields and url fields to have translations. For example, you may want to enforce that the main navbar links stay the same across languages, so that your site structure is consistent.
Metadata
As a final consideration, you will want to ensure that your localized pages are served with appropriate metadata for web crawlers to read. For each page, the canonical link should be localized and you should provide alternate link tags for each language your site offers, including the default language:
<link rel="canonical" href="https://www.example.com/fr_fr/about" /> <link rel="alternate" hreflang="x-default" href="https://www.example.com/about" /> <link rel="alternate" hreflang="fr-fr" href="https://www.example.com/fr_fr/about" />
Similarly, your social-media metatags should be localized so that if a user shares a French page on Facebook or Twitter, the content shows in French.
<meta property="og:url" content="https://www.example.com/fr_fr/about" /> <meta property="og:title" content="À propos" /> <meta name="twitter:url" content="https://www.example.com/fr_fr/about" />


Drop us a line
Have a project in mind?
Contacting Third and Grove may cause awesomeness. Side effects include a website too good to ignore. Proceed at your own risk.